Here are some shots from the tour with description below each pic. All of these areas should be familiar to you if you have played Scourge of War - Brandy Station. They are in a order that generally follows the timeline of the battle from early AM to the afternoon fighting on Fleetwood Hill.
Click each one for larger view:
This is a view of the train station today.
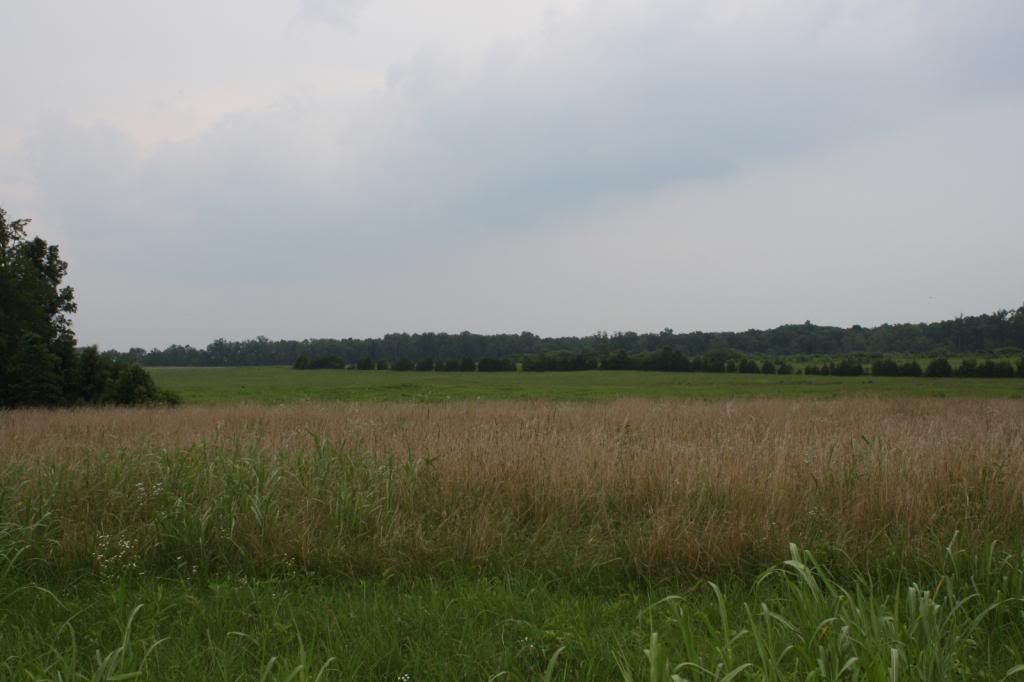
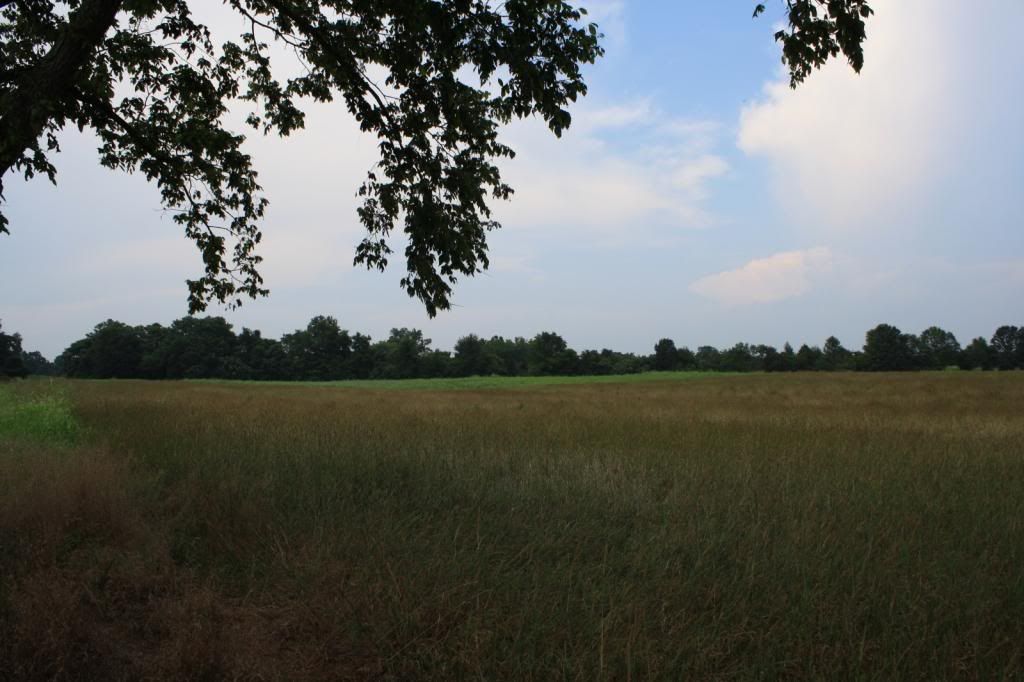
This is the area where Beckham's Confederate Horse artillery was camped during the opening shots of the battle. Being in such a forward position without infantry support, they soon hightailed it out of there, leaving a gun or two behind to support Jones' Cavalry as they made their way to the fight. In the far distant tree line would be the area of Beverly's Ford where Buford's Union cavalry wing crossed.
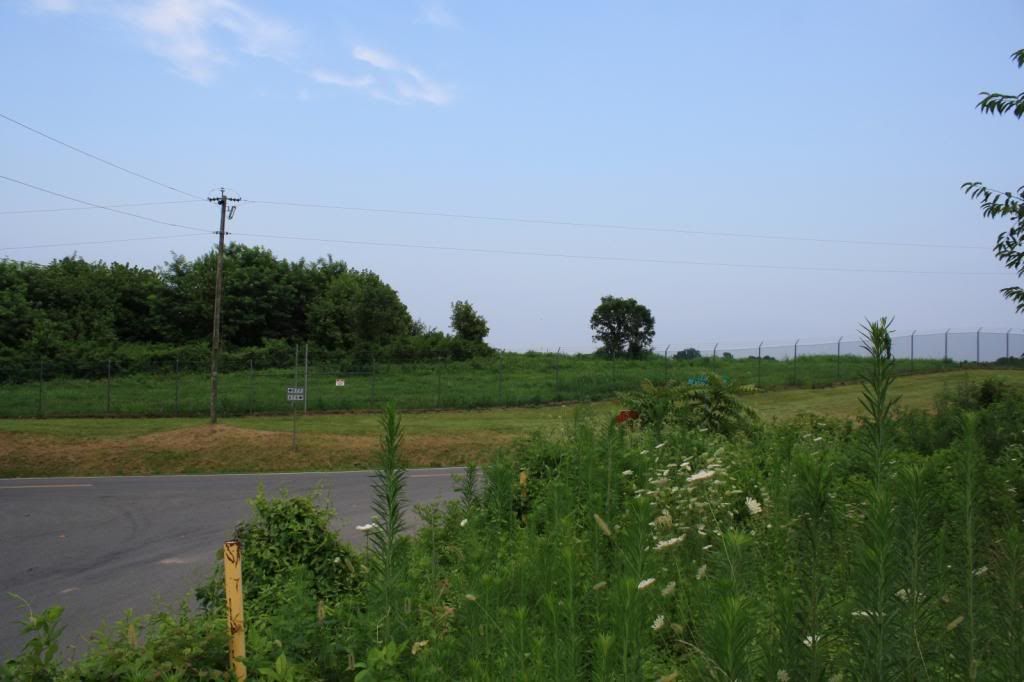
We have now moved to the area of the St. James Church action, looking east. The small knoll (that is now part of an airstrip) is where the Emily Gee House would have stood.
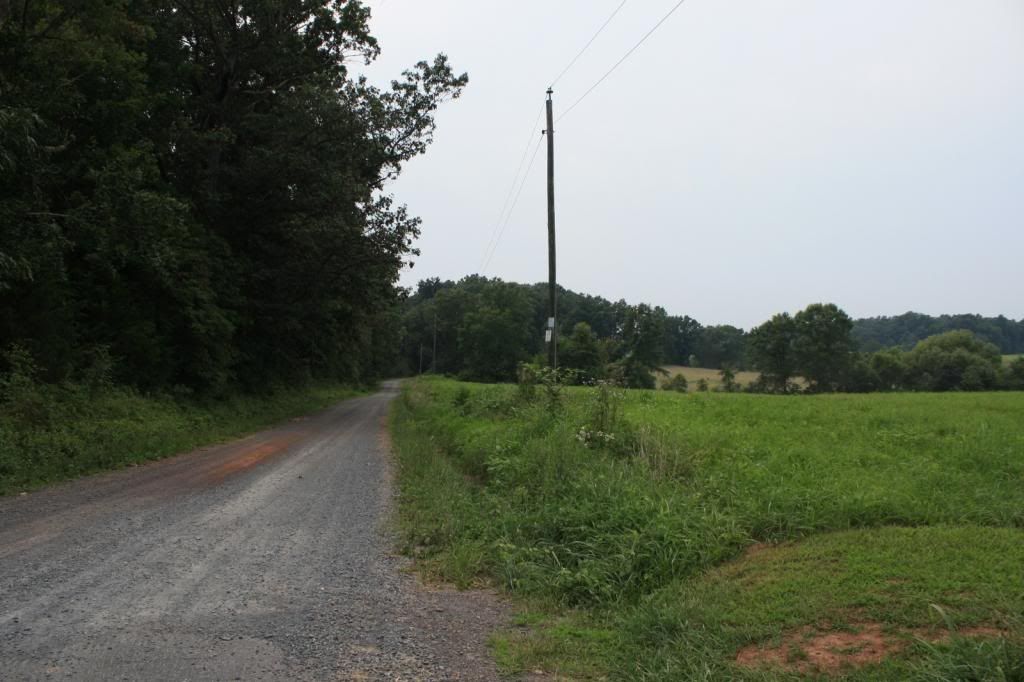
This is the same area looking west down the St. James Church Road. Beckham's Confederate artillery deployed on the right side of the road.
I have moved further west toward the artillery positions looking northwest. The 6th PA and 6th NY under Devin charged across these fields several times attempting to take the guns but were repulsed by canister fire, not to mention they were getting flanked by the rest of Jones Confederate brigade on their right.
I have moved further north across the small stream that separated the Confederate Artillery from the Union attackers. The treeline in the distance would be where Devin's Union regiments organized their attack on the Confederate Guns.
Looking south from the same area back towards the Confederate gun positions. That knoll looks like the perfect artillery platform.
A view from even further north looking towards the Confederate artillery positions. Although the position is now concealed by trees, you can see how the ground slopes up making it a perfect position for artillery.
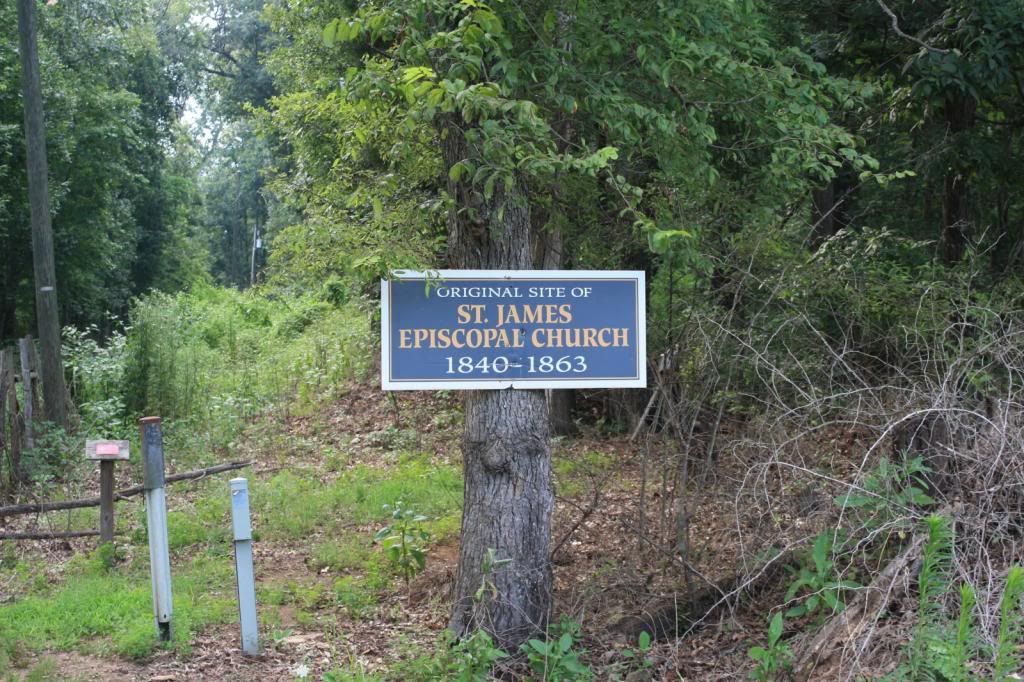
Site of St. James Church. Apparently parts of the foundation still remain, but the undergrowth was way too thick for me to go hunting for it.
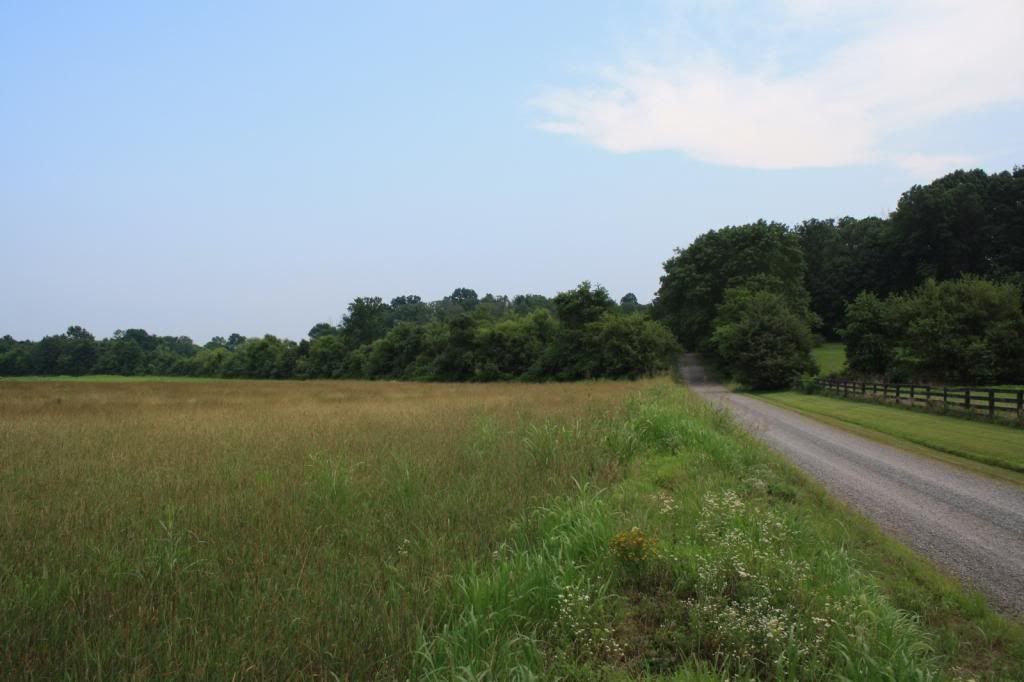
What is left of the old St. James Church road. Stuart's courier, McClellan, likely used this road to deliver the news to Stuart that "the Yankees are at Brandy!".
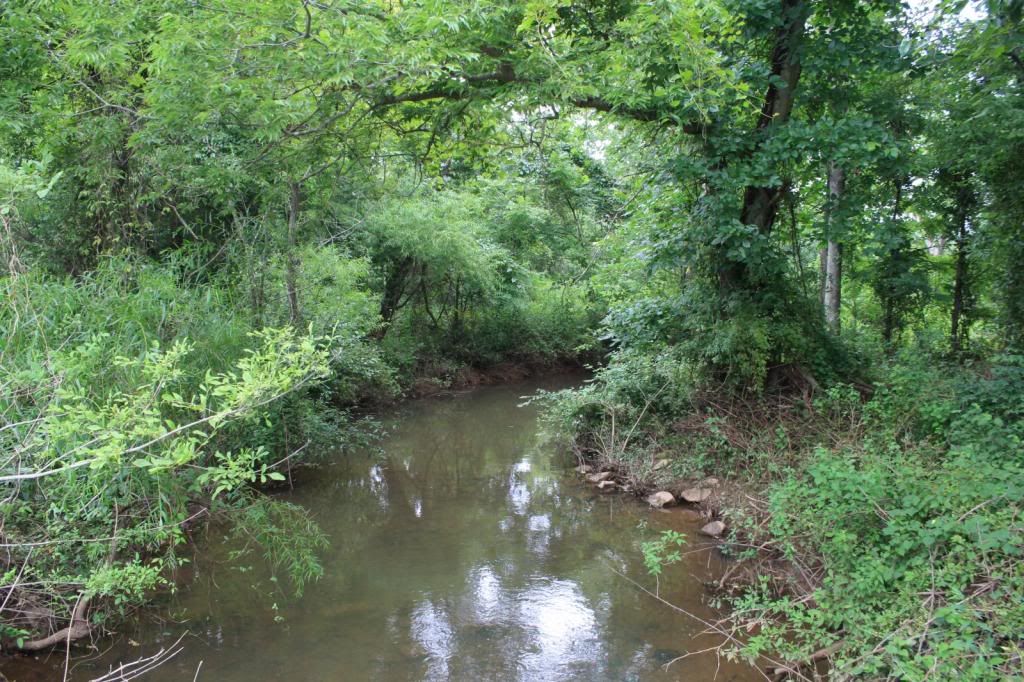
We have now moved to the northeast area of the field where the attacks on the stone wall by Buford's wing occurred. It was about 3/4 of a mile hike through some pretty rough terrain to reach the area. I crossed Ruffin's Run shown in the photo to access Buford's Knoll and the area of the Cunningham farm.
After crossing Ruffin's Run, Buford's famous knoll loomed directly in front of me. Buford and his staff directed the battle from the knoll. Several union guns were also on/around the knoll.
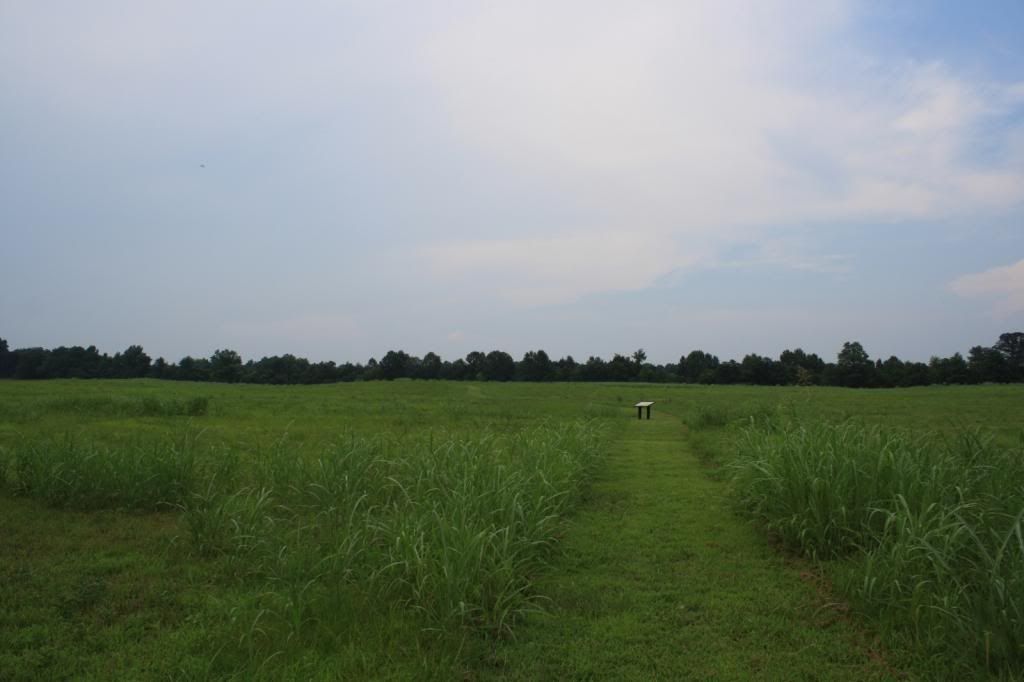
Although there was a mowed path to the lower side of the knoll, I trekked through waste high grass to reach the top. The view was well worth it. Here I was standing on Buford's Famous knoll with a view of the site of the largest cavalry battle on the North American continent. The tree line in the distance is where the stone wall is (which apparently still remains). It was of course more void of trees during the battle. Beyond the trees is Yew Ridge where confederate artillery was posted.
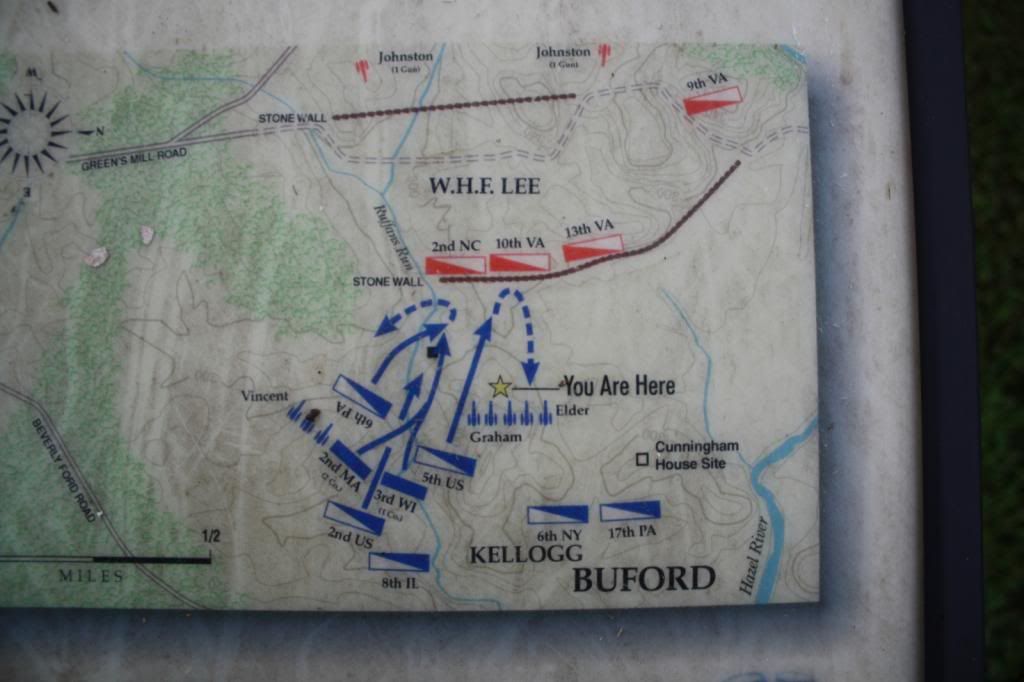
A wayside marker to help you get your barrings.
From the knoll looking south towards Ruffin's Run. The mixed Union force of Cavalry and Infantry would have had to cross this stream as they moved west to attack the Confederates at the stone wall and beyond.
Looking north towards the area of the Cunningham Farm.
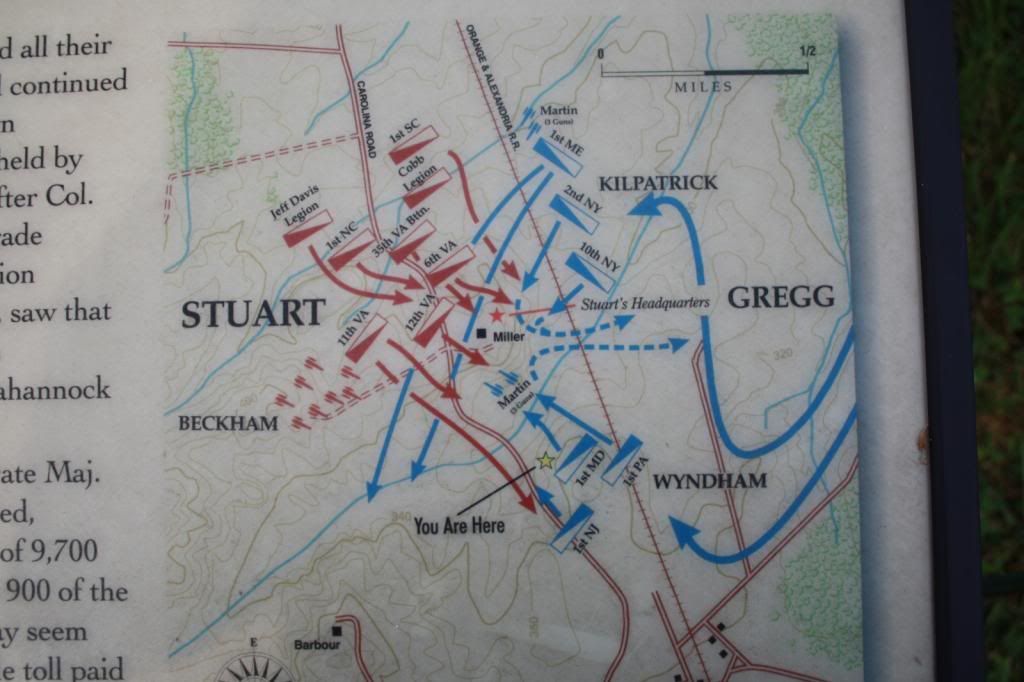
I have now moved to the southern portion of the field where the Union attacks on Fleetwood Hill occurred. This wayside shows the location where the next two photos were taken.
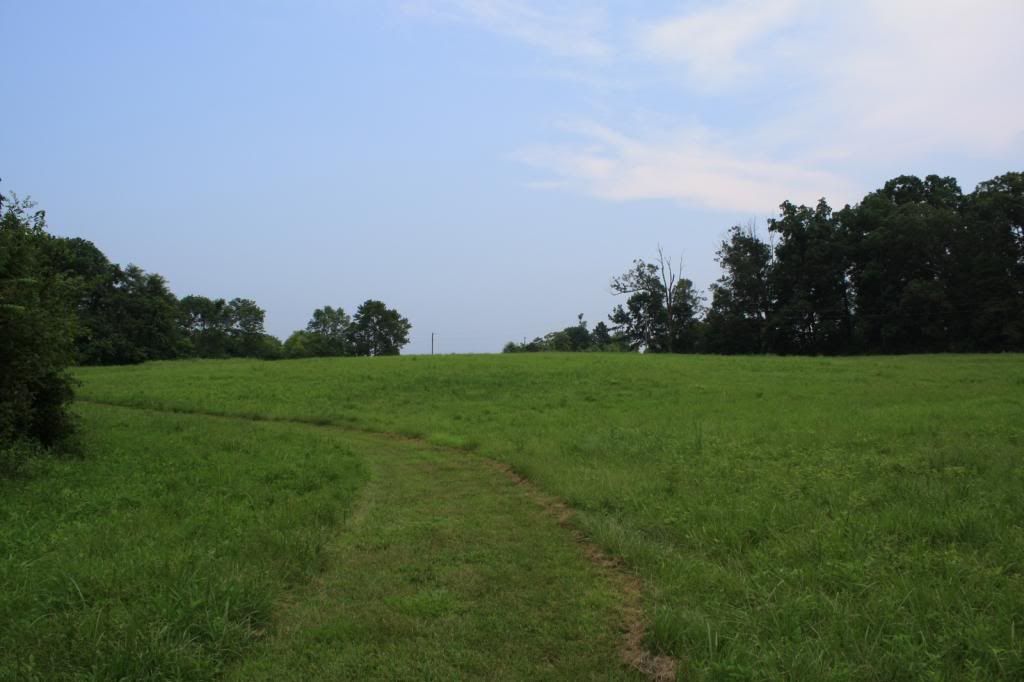
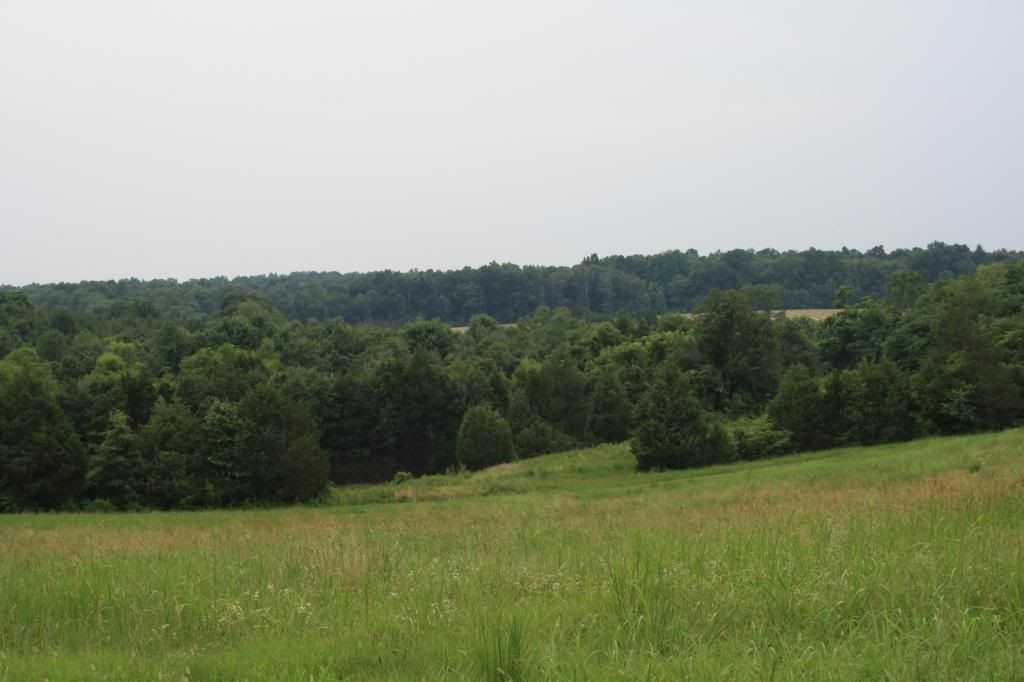
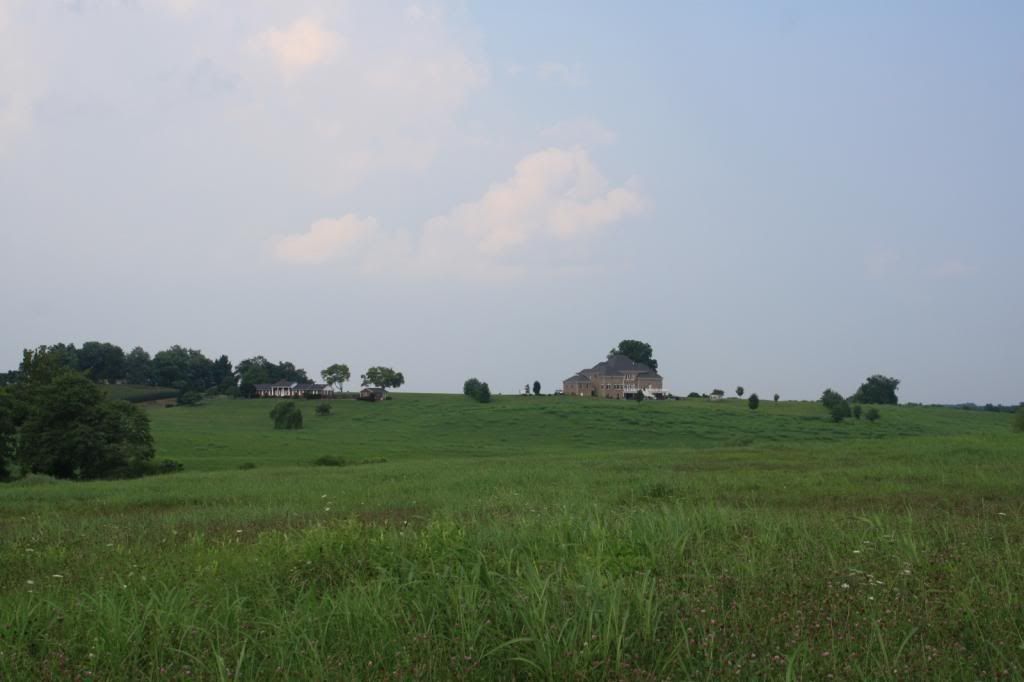
Looking east towards Fleetwood Hill. You can see how this hill would be a hotly contested objective for both sides, as it commanded the entire area. The Union cavalry under Gregg would charge up the right side of this view where they were met by Hampton and Jones Confederate cavalry brigades and soon Beckham's artillery (those guys were everywhere). Some of the fiercest action of the battle occurred here. The top of the hill also marks the area of Stuarts Headquarters.
This is from the same area looking north towards The Barbour House, also known as "Beauregard". General's Robert E. Lee and Richard Ewell both observed the battle from the house. The Union cavalry passed within yards of the house during the fighting on Fleetwood Hill, completely unaware of their presence.